Showing posts with label Cindy Holsclaw. Show all posts

Friday, 20 March 2015

Golden Chocolate Rick Rack Bracelet

Oh my goodness it's been a while!  I didn't quite realise just how long it had been though!  Ooops...

Anyways, I have been incredibly busy with my needle, thread, beads and a smattering of Swarovski rivolis and am pleased to show you my latest bracelet:


As you can see, I used Jean Power's amazing Rick Rack pattern, started off by using the incredible Contemporary Geometric Beadwork MRAW start.  As this isn't the first Rick Rack bracelet I've done, I also made the Double Layer Rick Rack bracelet last year, I noticed that those delicious v shapes could be perfectly filled using Swarovski pear shaped crystals.  This got me thinking....
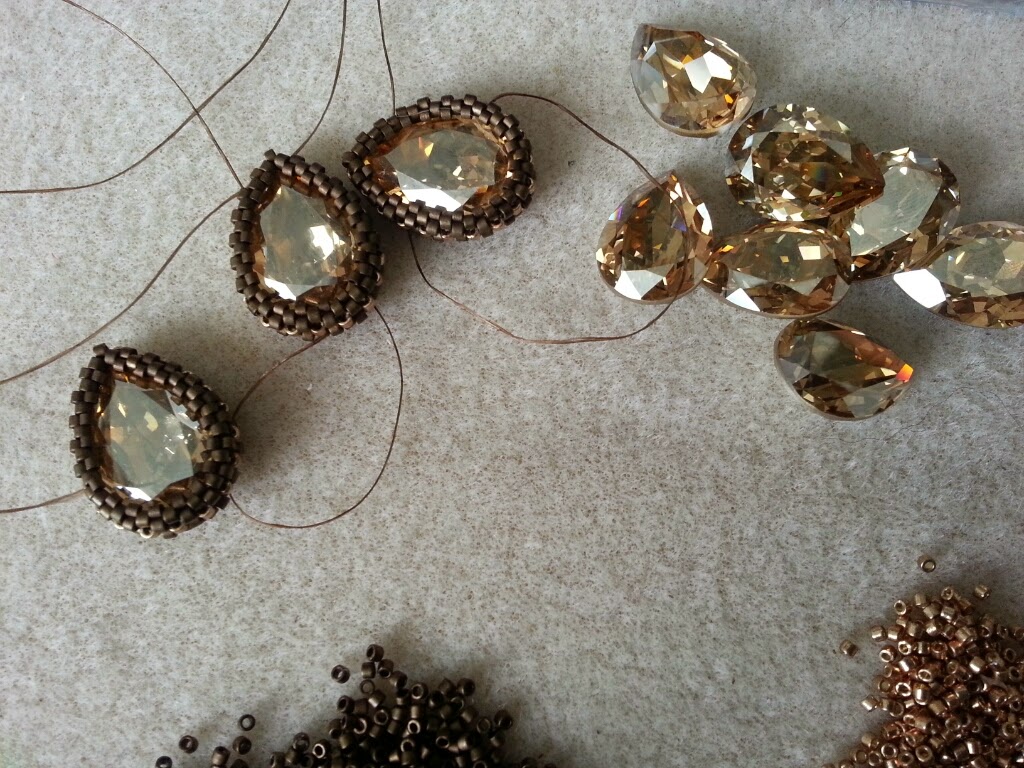

I used MRAW to bezel the Swarovski crystals (I used 18x13mm Pear Fancy Stones in Golden Shadow), which was surprisingly easy on the hands.  The stones didn't pop out or misbehave in any way whist I was beading - highly recommend using this method of bezelling!


I used delicas in Dark Bronze Matte and Galvanised Light Champagne Duracoat for the front.  I used the champagne for the ladders in the MRAW on the stones so decided to echo that in the main bracelet as well and then do a zigzag stripe of the gold to really draw those crystals into the design as a whole.


As you can see in this shot, the bracelet is double layered.  It could work single layered but I think that because I decided to use the bigger crystals, the body needed to be much more sturdy than a single layer.  I'm a tight beader and even one layer of rick rack is pretty strong but I really didn't want this bad boy to buckle over time with lots of wear! The reverse of the bracelet is just plain matte dark bronze as there was no need for there to be any ornamentation as it generally won't be seen.

It was finished with a simple gold slide clasp, the loops of which were securely attached and hidden inside the bracelet to give it a fully finished and sleek look.  


I must admit that I'm really proud of how well this bracelet turned out.  It sits really closely to the wrist (well, mine anyway!) and looks quite chic and elegant - not my usual style at all! It is exactly what I imagined when I first put needle and thread to beads - that never happens! I hope you like it too.


I've also finished another bangle that's along these lines but a teeny touch more bonkers - I'll blog it soon!


Friday, 12 October 2012

Circle Starburst


I'll be moving house soon so I thought I'd have a bit of a sort through of all my patterns and my beading stash.  I'm off work at the moment with an ear infection (not so much fun when you're deaf!) so now is the perfect time to have a root through and see what I've got.

A long time ago I bought the pattern for the Circle Starburst by the amazing Cindy Holsclaw.  I bought some 6mm Swarovski pendants to make it and then promptly forgot all about it, filing the pattern and stashing the crystals! 

I thought I'd pick up a needle and thread and start making it.  The pattern is pretty simple and if you've made a beaded bead using the Bead Infinitum's Infinity Weave then you're on to a winner!  However, if you're not used to following 3D patterns presented on a 2D plane then get something a lot simpler!  This isn't really a pattern for a beginner.

Here is the beaded bead with wide open spaces.  Quite honestly, I wish I'd had a black support bead because I think this looks lovely!

This is the beaded bead from the triple crystal view:

 All finished, from the five crystal view:

Admittedly, I did simplify the pattern.  In the actual pattern the seed beads come up in small volcano type shapes in between the pendants but I felt that they hid the beautiful Swarovski crystal too much for my taste.  I took off all the volcanoes and adapted the pattern so that the pendants really stick out of the seed bead base.  It makes it look a lot more spiky and a bit more vicious, but that's what I like in jewellery anyways!

To hang it on the silver neck wire, I simply popped an eye pin through the beaded bead, trimmed and turned a loop.

Close up of the beaded bead on the neck wire:

In all, it's quite a nifty little beaded bead that could be used as a base for lots of different variations.  Make sure you have lots of finer needles to hand though - I got through three needles because you have to get into some quite tight spaces!  I think the price is a little steep for what you get - $36 which equates to roughly £22...   But it is pretty.

Hope you like it!

Friday, 3 February 2012

Beaded Beads

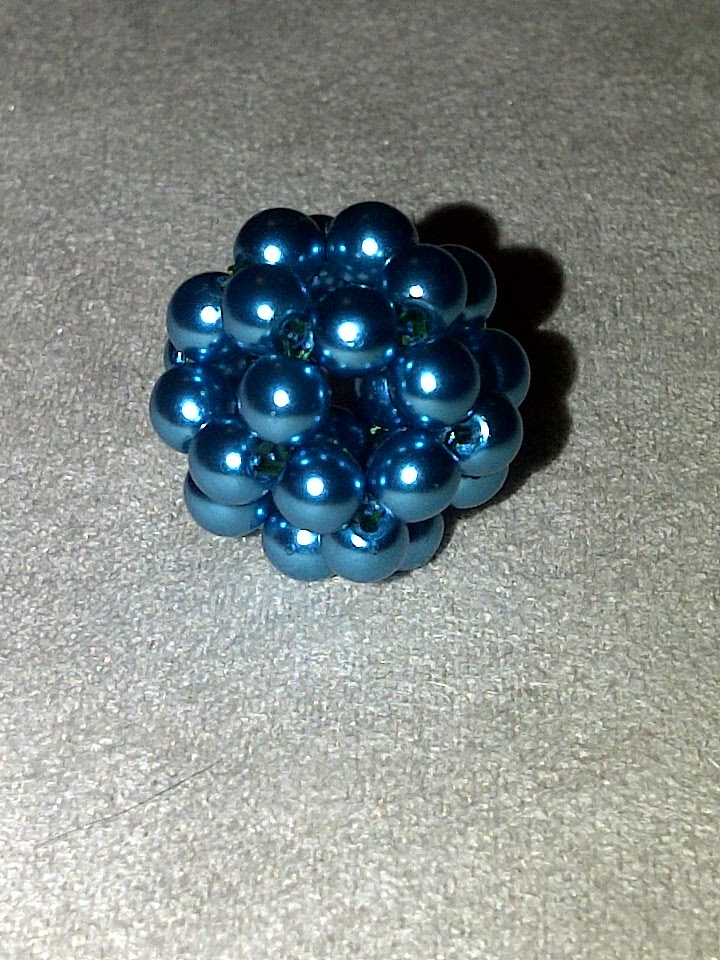
Lately I have been playing around with beaded beads.  I thought I'd have a little go and see what I could make that were self supporting but that would also allow you to see the structure of the bead as well.

 I started with the green bead at the back.  It's made with some cheap Indian glass rounds and lots and lots of thread to keep these heavy beads still!  Then I made another using Swarovski faceted rounds.  I'm not much of an orange fan but thought it looked quite cute.

 Then I tried again with some Swarovski pearls.  This one is my favourite by far, possibly because I love the colour!  I threaded this on some plain silver snake chain and turned it into a very simple necklace as a birthday present for one of the girls at work.

Then I moved on to Cindy Holsclaw's rather fabulous Disco Ball beaded bead and I absolutely loved it!

I had loads of leftover bicones in some pretty random colours so I thought I'd see how the Disco Ball beaded bead would translate to them and they really worked!  As you can see, I didn't add the lace overlay so I had to go through each bead quite a few times in order for them to stiffen up.

But then what to do with all these random beaded beads I had made?!
A cute little charm bracelet worked wonders as yet another gift.  Luckily she is a bit of a champion of colour so this was right up her alley!